<FileUpload> controls can be used to upload file to a Web App created with X4 Web Apps. The <FileUpload> control can only be used in Detail Components or Detail Structure Elements within a Master/Detail Component.
The <FileUpload> control uses the standard Open File dialog of the browser, where the user can select the file to upload. After the user has selected the file, the upload starts. The Technical Process that receives the uploaded file must return a confirmation or error message. If the confirmation contains a message, the message is displayed as a pop-up window. Pop-up windows with error messages are always displayed.
Note:
If a mobile device is used, the integrated camera can also be accessed.
Instructions for use
A <FileUpload> control is created with the <FileUpload> element.
<FileUpload>
...
</FileUpload>
<FileUpload> controls can be used in all available layout types: For more information, see Layouts.
Attribute
Note:
There are a number of default attributes that can be set for all controls. For more information about the default attributes, see Default attributes.
In addition to the default attributes, you can define the following attributes for <FileUpload> controls.
|
Attribute |
Description |
|---|---|
|
|
File type to filter by in the selection dialog.
This attribute only filters by file types. The filter can be reset by the user to view and select all file types. Possible values: Any string (file extension) Note: For this attribute, specify only the file extension, for example, |
|
|
Specifies whether automatic file upload is enabled.
Possible values:
|
|
|
Display name in the interface. Possible values: Any string |
|
|
Identifier that can be used by the process developer.
Possible values: Any string |
|
|
Maximum file size in megabytes. Possible values: Integer |
|
|
Specifies whether multiple files can be uploaded. Possible values:
Note: Multiple files are uploaded using the multipart upload mechanism. This enables efficient handling of large files with lower server utilization. |
|
|
Required Technical Process that receives the uploaded file. The Technical Process must be specified including the file extension ( Possible values: String (URI) |
Input format for the Technical Process
The data is transferred to the Technical Process in a specific input format.
<?xml version="1.0" encoding="UTF-8" standalone="yes"?>
<File>
    <FileId>....</FileId>
    <FileName>....</FileName>
    <FileType>....</FileType>
    <FileData>
    ....Base64 data....
    </FileData>
</File>
For example, the data in the <FileData> element can be decoded using the Base64 Converter.
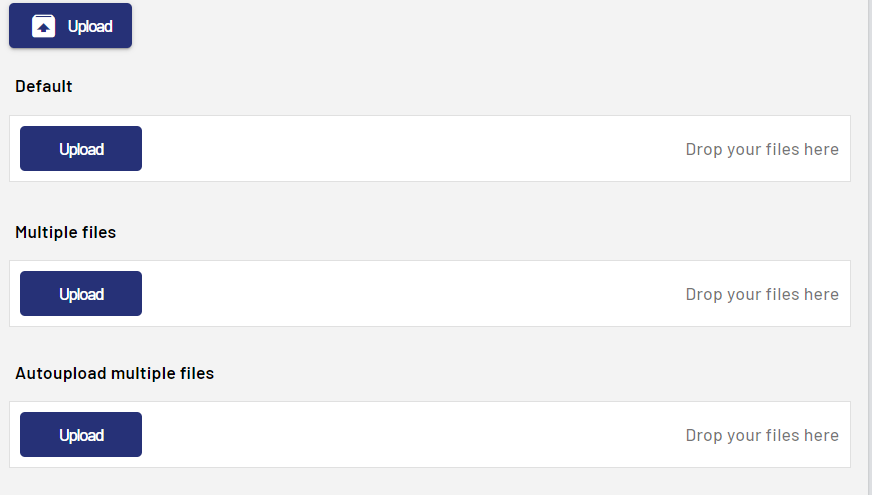
Examples
Here you will find various examples of <FileUpload> controls.
Example 1:

Example 2: