Defining the Technical Process: CSV Converter
In this step, you define the first process steps of the Technical Process. The CSV file prepared for this example should be imported into the system and transformed into an XML format for display in the Web App.
Use the CSV Converter adapter for this purpose. This adapter reads a CSV text document from the previous process step and outputs an XML document in UTF-8 character encoding for the specified data sets, which can then be cached for further processing.
Previous step: Creating the Technical Process for the Web App (.wrf)
Prerequisites:
You have created the example CSV file that was to be prepared and saved it locally. For more information, see Example: Web App Project.
Importing a resource
Right-click the Services > Resources folder in the project structure.
Click Import….
The Resource Import Wizard dialog opens.Click on Browse… and select the desired file on your computer.
✅ The imported file appears in the Resources folder.
Inseringt an example file into the process
Drag the imported file from the Projects view next to the
Startelement in the editor.Click on the lower right
corner of the
Startelement, hold down the mouse button, and drag a connection to the
customerselement.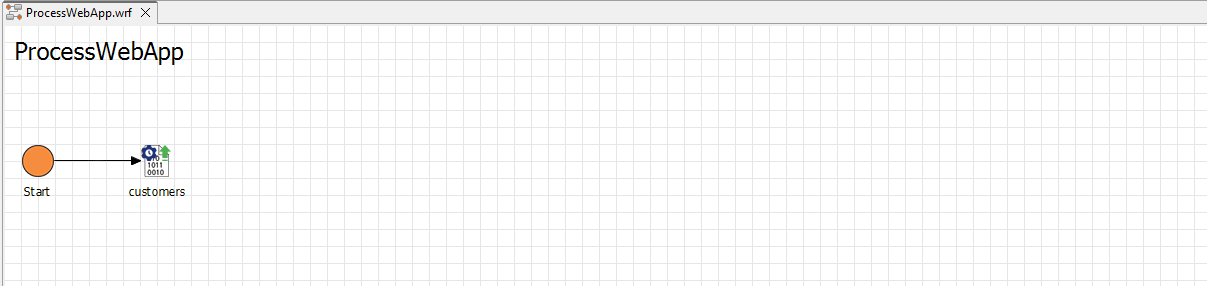
Creating and configuring the adapter
Right-click the Services > Adapters folder in the Projects view and select New > Adapter….
The File Creation Wizard dialog opens.Enter the value
CSVin the search field and select the CSV Converter.
If necessary, you can customize the name of the adapter in the File name field.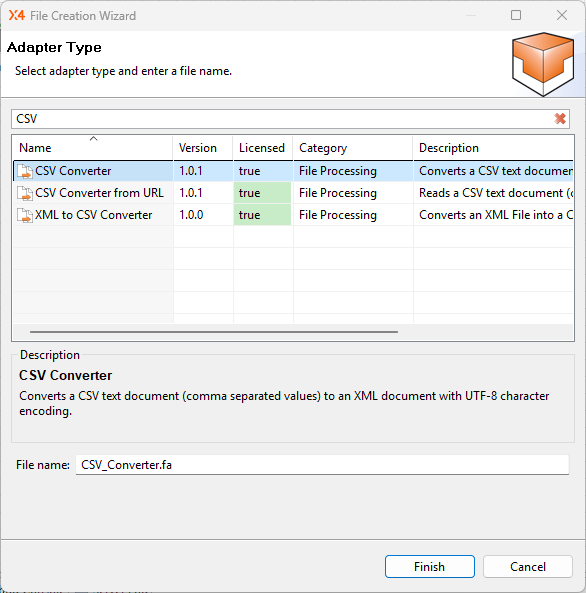
Click Finish.
✅ The adapter is created in the Adapters folder and opens automatically in the editor.For the purposes of this example, you only need to adjust two values of the adapter's parameters:
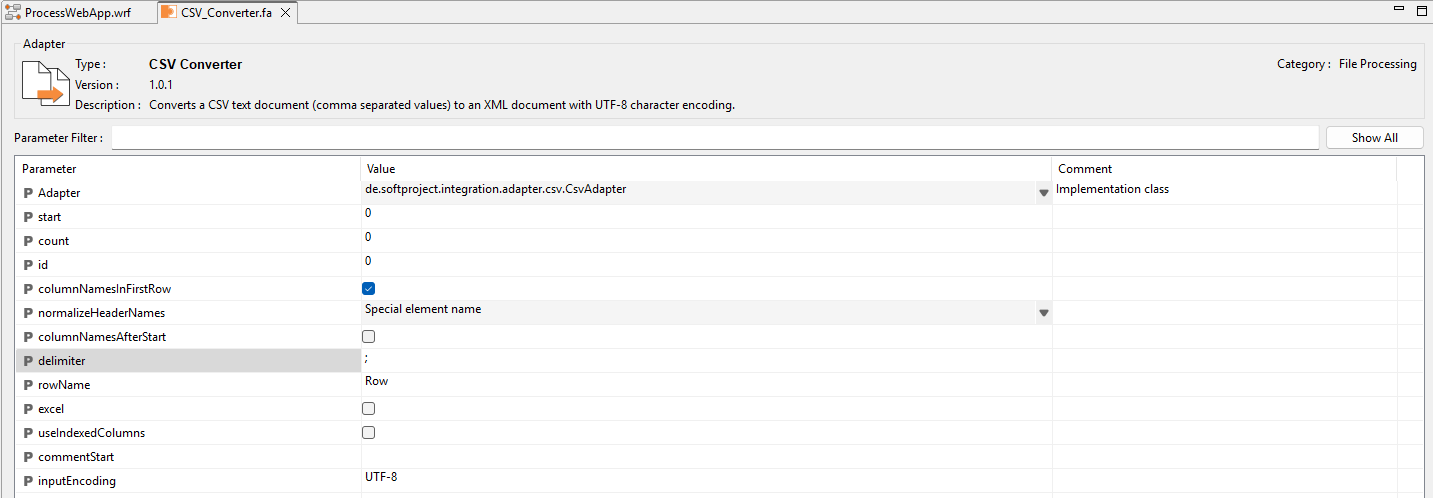
Select the checkbox of the
columnNamesInFirstRowparameter so that the data fields of the first line in the CSV text file are interpreted as column labels and the data field elements in the XML document are named accordingly.Since the values in the example file you are using are separated by commas, enter the value
,in thedelimiterfield.
Click
Save.
Return to the Technical Process
ProcessWebApp.wrf.
Inserting the adapter
Drag the
Adapterelement from the Palette view next to theStartelement in the editor.Double-click the
Adapter element.
The Choose Adapter File dialog opens.Select the adapter that was previously created in the Adapters folder.
Click OK.
Select the
Parsevalue in the Operation field in the Properties of the adapter so that the document is read in one step.Click on the lower right
customerselement, hold down the mouse button, and drag a connection to the
CSV_Converterelement.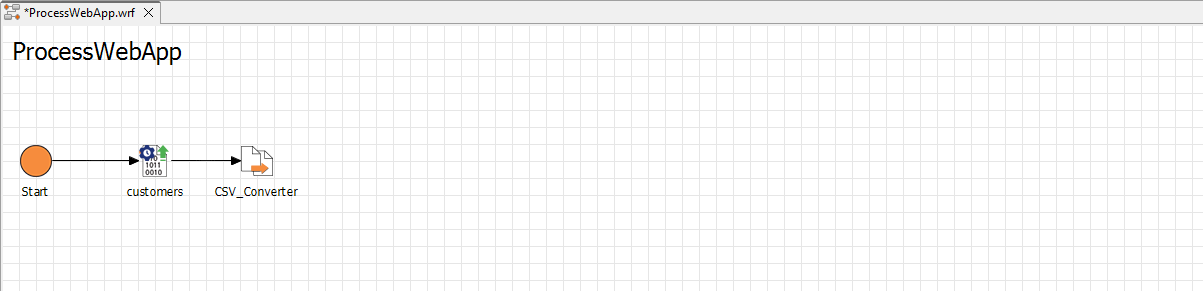
Next step: Defining the Technical Process: Buffer