Defining the Technical Process: Buffer
In this step, you create a so-called buffer, a new XML file that temporarily stores the result of the conversion of the CSV file.
Buffers can be used in any process to cache temporary data for further processing. For the example process described here, you need the buffer to transform the XML structure generated from the CSV file so that it corresponds to the desired data structure in the Web App.
Previous step: Defining the Technical Process: CSV Converter
Creating a temporary XML file
Right-click the Services > TemporaryFiles folder in the Projects view.
Click New > XML Document….
The File Creation Wizard dialog opens.If necessary, you can customize the name of the XML document in the File name field, e.g.
Buffer.xml.Click Finish.
✅ The document is created in the TemporaryFiles folder and opens automatically in the editor.Return to the
ProcessWebApp.wrfTechnical Process.
Inserting the buffer
Drag the
XMLelement from the Palette view next to theCSV_Converterelement in the editor.Select the
Writevalue in the Operation field in the Properties of the element to save an XML document containing the data from the previous process step.Click the
button in the Document field in the Properties view.
The Choose XML Input dialog opens.Select the previously created XML file
Buffer.xml.Click OK.
Click on the lower right
corner of the
CSV_Cverternelement, hold down the mouse button, and drag a connection to theBufferelement.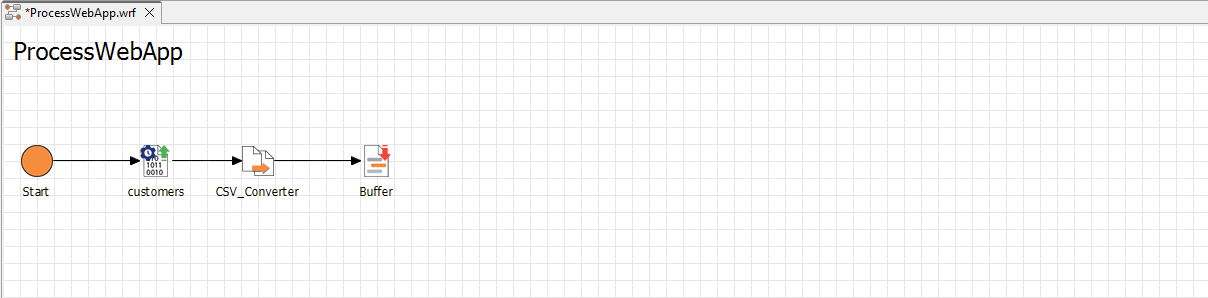
Filling the Buffer.xml
In order to continue working with the Buffer.xml file in the process, you must debug the process once and thus transport the data from the imported CSV to the created XML file. To debug, temporarily insert a Stop into the process.
Drag the
Stopelement from the Palette view next to theBufferelement in the editor.Click on the lower right
corner of the
Bufferelement, hold down the mouse button, and drag a connection to theStopelement.Click the
Startelement in the editor.Click the
Start Debugging button in the toolbar.
Click the
Step Into button in the toolbar until you have completed all steps of the process.
✅ TheBuffer.xmlfile is populated with the data from the importedcustomers.csvfile.Remove the
Stopelement from the process by pointing the mouse to the element and clicking thebutton.
Next step: Defining the Technical Process: Mapping