Creating Pools and Lanes
Before you start modeling the actual process steps, we recommend creating so-called pools and lanes.
With pools and lanes, you divide Business Processes into responsibilities and stakeholders in accordance with BPMN 2.0. In doing so, you use a pool to map the participating organizations and/or systems, and lanes represent the people or teams involved. A pool can contain any number of lanes. In the pool/lane display, the time sequence is usually arranged from top left to bottom right.
For the example project, you create a pool with two lanes that represent the teams involved in the process.
How to create a pool and lanes
Previous step: Creating a BPM Process (.bpm)
Drag a

Pool/Laneelement from the Palette view into the editor and drag the element to the desired size.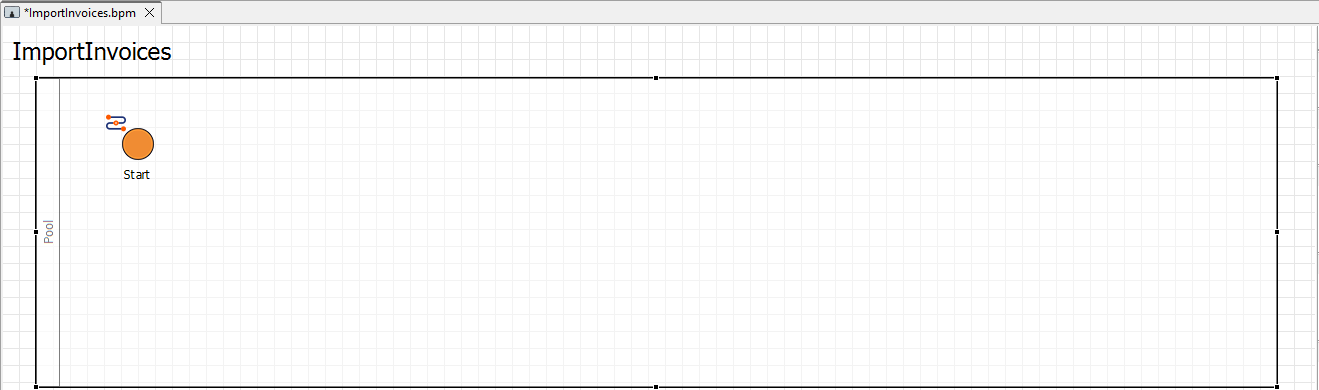
Click on the inserted pool and define the Pool Name as
Import an approve invoicesin thePropertiesview.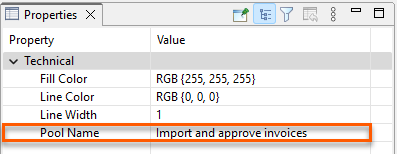
Right-click the pool in the editor and select Add Lane.
Click on the inserted lanes and respectively enter the name of the team responsible for the process steps in the corresponding lane in the Lane Name field in the Properties view. For our example, these are the
X4andAccountingteams.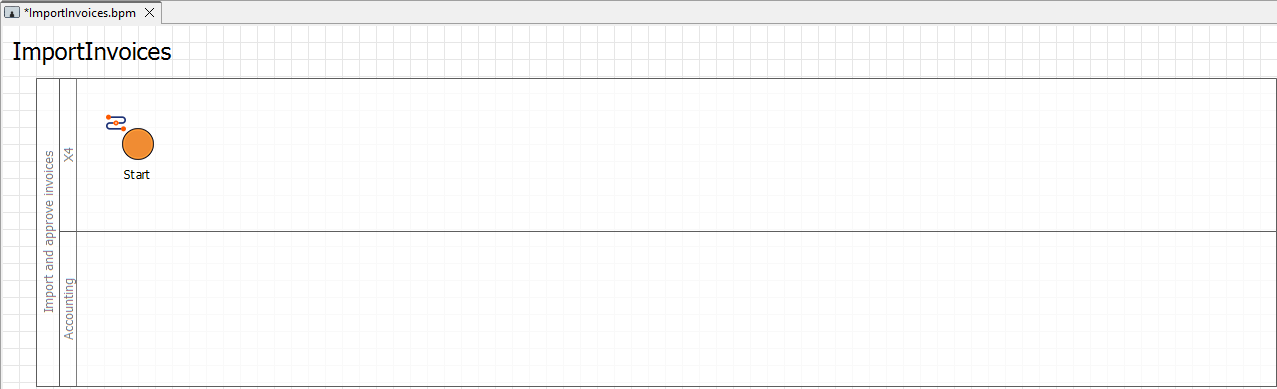
Next step: Defining Business Process Data