Creating, Inserting, and Configuring the File System Adapter
The first step is to insert a so-called adapter into your process to import a sample file. Adapters allow you to integrate applications and data into any Business Process. For more information about the X4 BPMS standard adapters and their features, see X4 BPMS Standard Adapter.
For this example, you need the File System adapter. This adapter stores, reads, deletes, copies, moves, lists files and folders, or attaches files to a target file that is located in the X4 Server's file system or on connected Windows or Samba network drives. For more information about the File System adapter, see File System.
After you have created and inserted the adapter, you can begin configuring the adapter. We also recommend that you include descriptions of your Technical Process that explain each process step. This way, the individual process steps remain transparent and can also be quickly followed up by new colleagues.
Previous step: Creating a Technical Process (.wrf)
Prerequisites:
You have created the example XML file that was to be prepared and saved it locally. For more information, see Example: ESB Project.
Creating the adapter
Right-click on the Technical Process in the Projects view and select New > Adapter….
The File Creation Wizard dialog opens.In the search field, enter the value
File Systemand select the File System adapter.
If necessary, you can customize the name of the adapter in the File name field.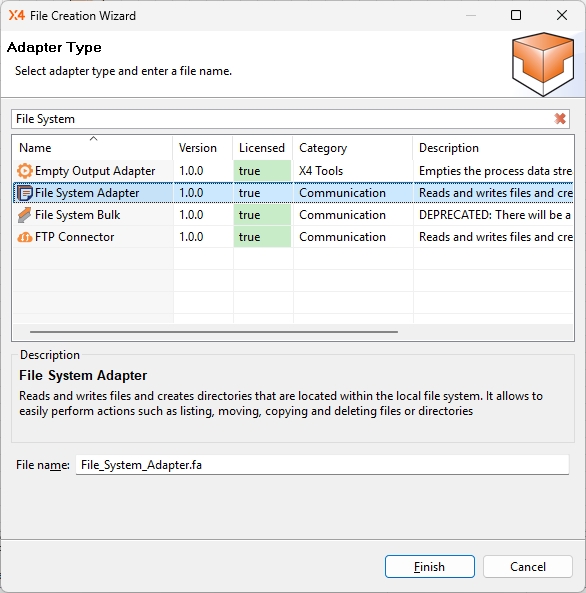
Click Finish.
✅ The adapter is created in the ESB Project and opens automatically in the editor. The next step is to configure the inserted adapter further.Return to the Technical Process
ImportInvoices.wrf.
Inserting the adapter
Drag the

Adapterelement from the Palette view next to the
Startelement in the editor.Double-click the
Adapter element.
The Choose Adapter File dialog opens.Select the adapter previously created in the Technical Process.
Click OK.
Click on the lower right
corner of the
Startelement, hold down the mouse button, and drag a connection to the
File_System_Adapterelement.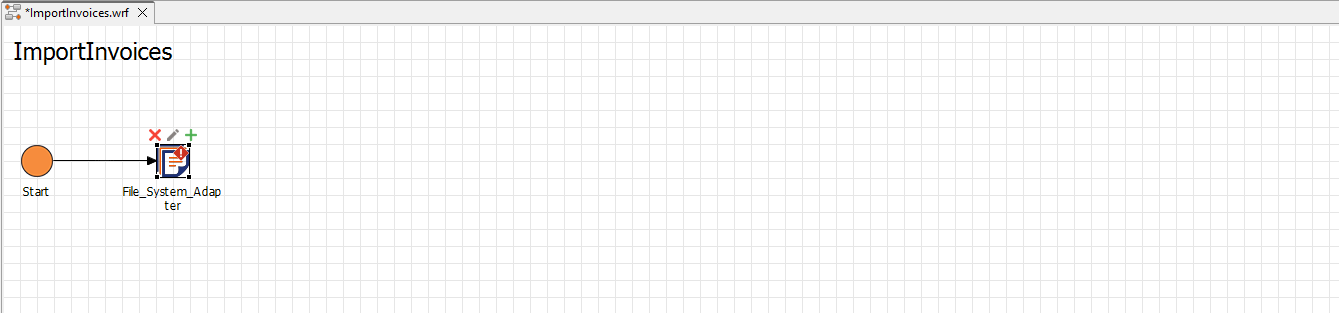
Configuring the adapter
Click the
File System Adapterin the Editor.Select the
Read Filevalue from the Operation drop-down list in the Properties view.
The adapter now reads data from the file specified in thepathparameter.Double-click the
File System Adapterin the editor.
The adapter opens on a new tab.Enter the path to the example XML file to be prepared,
sampleInvoice.xml, in the field of thepathparameter.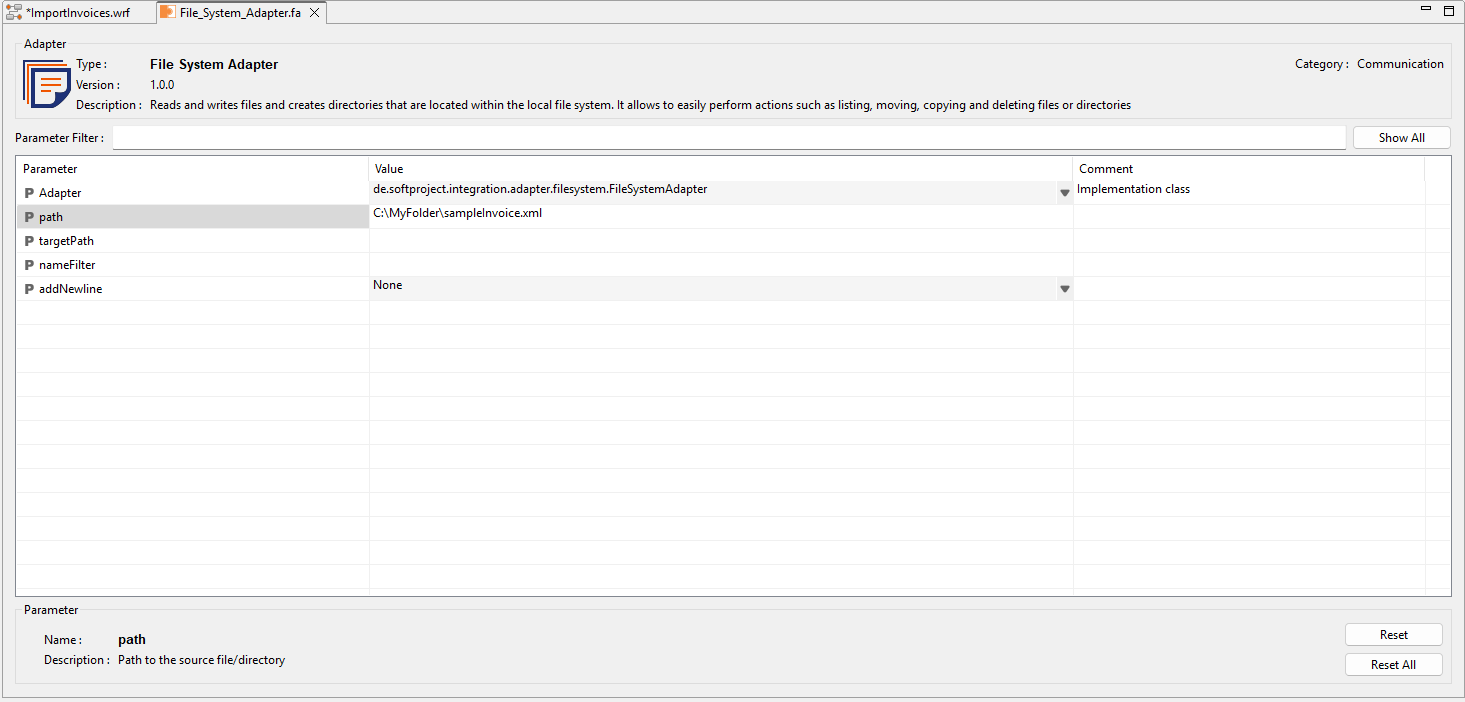
Click
Save.
Return to the Technical Process
ImportInvoices.wrf.
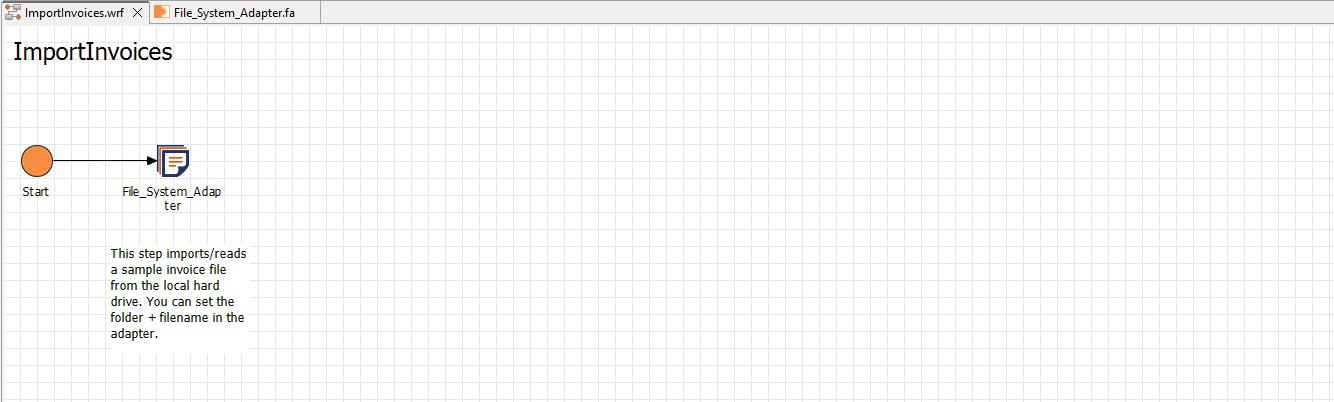
Adding a description
Drag the
Textboxelement from the Palette view below theFile System Adapterelement into the editor.Double-click the
Textboxelement.
The Text Editor opens.Enter the desired description text, e.g.: "This step imports/reads a sample invoice file from the local hard drive. You can set the folder + filename in the adapter.”
Click OK.
If necessary, adjust the size and position of the text box.