Creating a Business Process
The BPMN Designer enables you to model Business Processes according to BPMN 2.0.
You can drag empty activities from the palette as well as files from the Projects view to the drawing area and configure their properties in the Properties view in order to create an executable Business Process.
Note:
The Free-flow mode additionally offers the option to use the BPMN Editor as a plain BPMN drawing tool with an extended BPMN palette, where the run/debug functionality is disabled.
How to create a new Business Process
Right-click on the Processes folder and choose > Business .
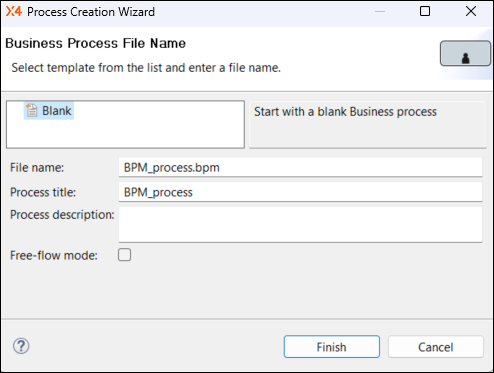
The Process Creation Wizard dialog opens.
- Select an empty or an already available template.
Enter a file name in File name.
Note:
The file name must not contain blanks.Enter a process title in Process title.
The process title is displayed in the process diagram and can be shown or hidden with theShow Titleproperty in the Properties view.Note:
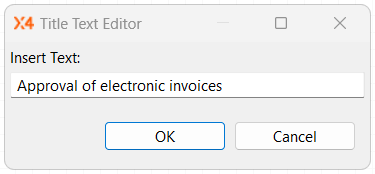
To display theShow Titleproperty, select the Show Advanced Properties icon in the Properties view.You can change the process title in the Properties view using the
Titleproperty.- Enter a description in Process description. The description is optional.
If required, enable the free-flow mode for business processes using the Free-flow mode checkbox. If the free-flow mode is enabled, the BPMN Editor is used as a plain BPMN drawing tool with an extended BPMN palette.
Note:
The run/debug functionality is disabled in the free-flow mode.Click Finish to create the process.
An empty Business Process with the file extension.bpmwill be created in the Projects view and will be opened in the BPMN Editor.- Model the Business Process as desired:
Drag elements from the Palette or files from the Projects to the sequence flow or to a free space in the drawing area.
Create Sequence Flow connection lines:
Move the mouse cursor over the source component to display a small arrow.
Click on the arrow, and drag a line to the target component to create a sequence flow.
In addition, you can:
Insert
PoolsandSwimlanes, see Pool/Lane.- Insert
Eventelements, see Events. Insert
Parallel Gatewayelements orExclusive Gatewayelements, see Gateways.
Tip:
If you integrate files from the Projects view in your business process and configure them accordingly in the Properties view, you can execute the modeled process by clicking

