Creating Processes
The Process Editor enables you to model Technical Processes graphically.
You can drag empty components from the palette as well as files from the Projects view to the drawing area and configure their properties in the Properties view to create executable processes.
How to create a new process
Right-click on the Processes folder and choose > Technical .
The Process Creation Wizard dialog opens.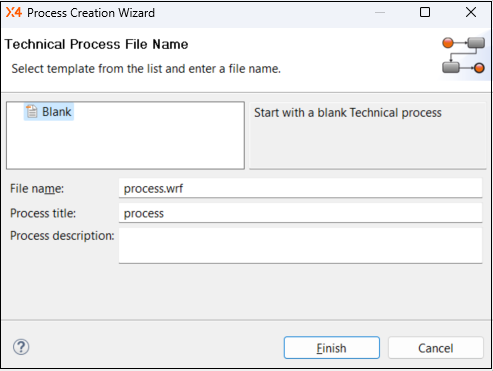
- Select an empty or an already available template.
Enter a file name in File name.
Note:
Spaces and special characters are not allowed in the file name!Enter a process title in Process title.
The process title is displayed in the process diagram and can be shown or hidden with theShow Titleproperty in the Properties view.Note:
To display theShow Titleproperty, choose the Show Advanced Properties icon in the Properties view.You can change the process title in the Properties view using the
Titleproperty.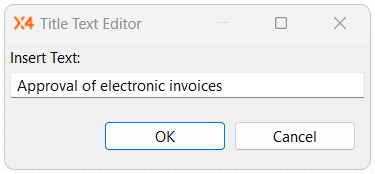
- Enter a description in Process description. The description is optional.
- Click Finish to create the process.
An empty process diagram with the file ending.wrfis created in the Projects view and opened within the Process Editor. Model the Business Process as desired:
Drag components from the Palette or files from the Projects to an existing transition between two process components or to a free space in the drawing area.
If needed, draw transition lines to connect process components. To do so:
Move the mouse cursor over the source component to display a small arrow.
Click on the arrow, and drag a line to the target component to create a sequence flow.
Tip:
If you use files from the Projects view in your process and configure all properties in the Properties view correspondingly, you can execute the process by clicking